The last time we looked at our landscape design, we had completed the functional diagram. To refresh our memory, it looked like this:

The next step is to define the edges of these areas.
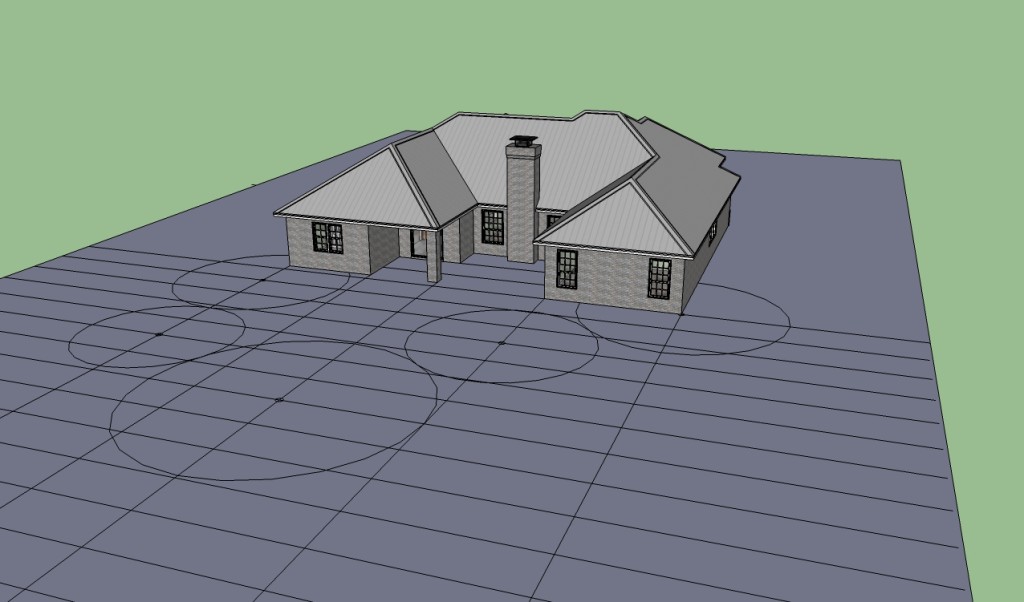
Defining area edges
I talked about this first in my post Integrating your house and landscape. If you are doing this process at home, this would be a good time to read that post.
While you are at it, take a look at Formal Design Theme from lines of force and then Curvilinear landscape design from line of force.
The big take away is using the architecture on your site as the basis for the form OUT IN your landscape.
Is a space a Positive or Negative space?
We should also define these different areas as either positive or negative space. By that, will they contain mass or will they contain a void that we can inhabit?
The living area space on our functional diagram is already defined for us as a Negative space by a huge chunk of concrete that is my patio. We could reinforce this space by adding mass to the spaces that surround this space.
This is a concept that I have talked about in Enclose your garden to create a sanctuary.

I already hinted at using plantings in the adjacent spaces to help define the patio space on the Functional diagram when I gave them the name of “create room”.
We will be adding some plants with vertical elements next to the patio to help define the patio space. We will keep them transparent or use them to frame the view of the lake (goal #1 on our Creating our landscape wish list). Before we do this, let’s look at our turf area before we block the view of it.
Defining the Turf area
How will the turf area be shaped?
Will it be a void created by the left over space from other areas or will it be a defined positive space area?
For more on this check out my post, Positive and negative space in the garden.
It will be a positive space, as shown below. It will be a curvilinear shape based off the lines of force of the house (not shown, see posts mentioned above for the process).
I am also adding a retaining wall that will replace a small railroad tie retaining wall that is past it’s prime, so lets show that now too.

Adding some Plants to define the Patio space
Lets go ahead and add some of those trees as vertical elements to define the patio space.
Going back to our wish list, we saw we had the following goals that could all influence our selection of which trees to use here:
- Create a North woods cabin feel
- Attract birds and butterflies
- Use Mostly native plants
- Look great in all seasons

We added a Whitespire Senior Gray Birch (Betula populifolia ‘Whitespire’) on the right and a Shadblow Serviceberry (Amelanchier Canadensis) on the left.
The white bark of the birch provides a Northwoods feel as it is remiscent of the paperbark birch. It also provides a big dose of winter interest.
The fluttering leaves of the birch also gives motion to the landscape throughout the growing season which is similar to the quaking aspens in the Northwoods.
The serviceberry provides early Spring flowers, bird (and people) food in it’s summer berries and nice orange Fall color.
Adding the rest of the plants to define the patio
This looks pretty stark, so lets go ahead and add some evergreens and an Oakleaf hydrangea to further define the patio space.
We won’t worry about what the evergreens are right now, but we could certainly pick one of those I profiled in my post on Evergreen shrubs for your foundation.
I know this looks a bit boring right now, but remember we want to look out onto the lake and not have the foundation plantings surrounding our patio competing with the view. This would cause visual tension that would prevent the scene from being as relaxing.

In a couple of posts, we will finish off the backyard design by adding a lot of plants that will enhance the view of the lake as well as meet our other landscape goals.
Anglea says
Thanks for the excellent advice, it really is useful.